Actualization: Emmaline Retreat Bag
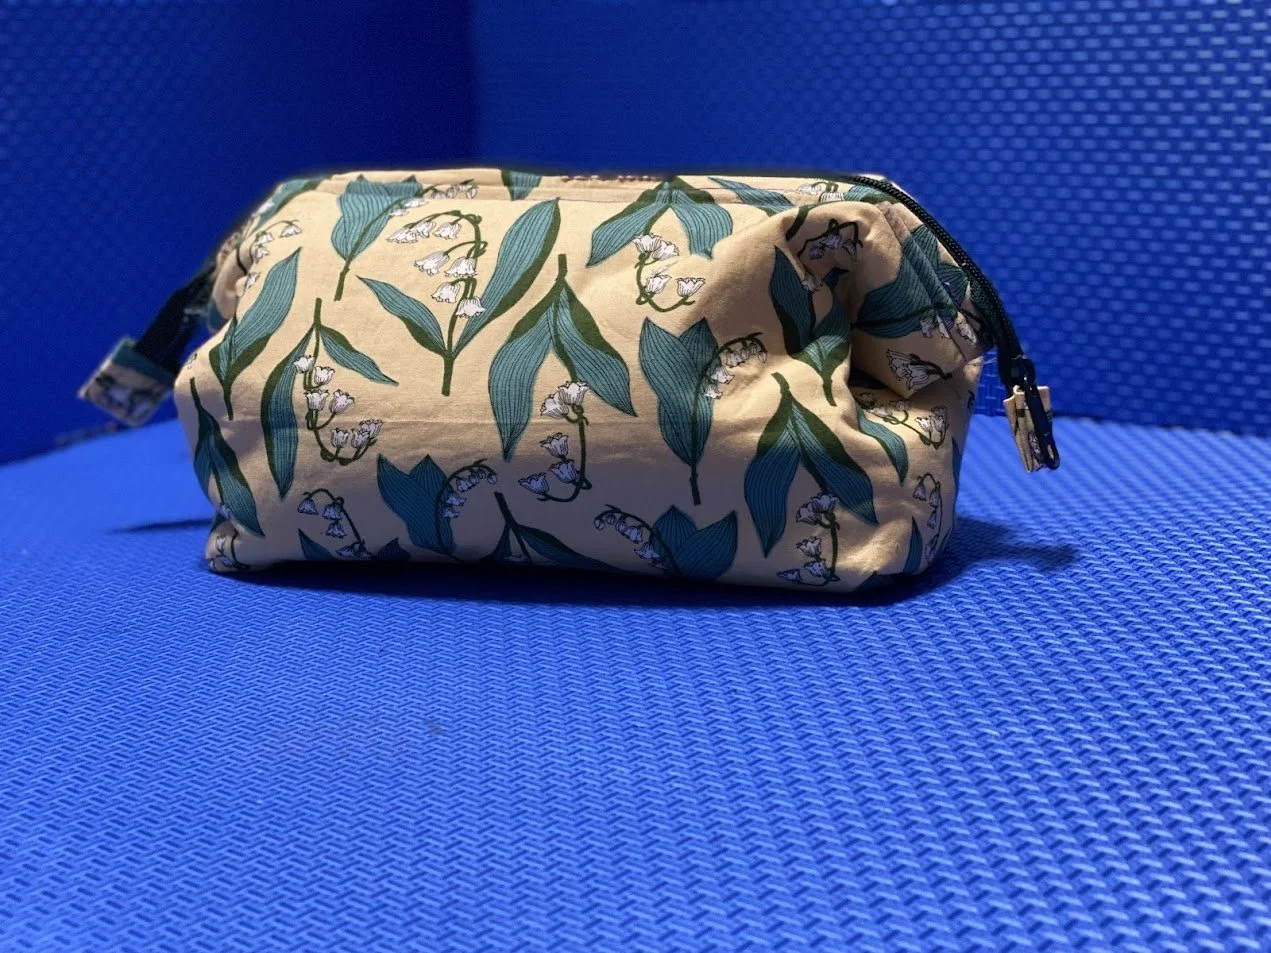
I think this is a fantastic bag and a fantastic intermediate sewing project. I made a few mistakes, but overall I really enjoyed Sewing it together.
Despite having already made a drawstring bag as my first project, I consider this one my first “real” project. It was much more involved. The backstory begins in March. That was when I started taking sewing classes at one of the local community colleges. This was my first step in seriously learning how to sew. Because the program was designed for adults who are continuing education, the classes only met on Saturdays. The main project was a pair of pajama pants. I was, and still am, very excited. Who doesn’t want new, handmade, pajama pants in their life?? In order to get to the pants, however, we needed to start with the basics.
The first few classes were dedicated to learning how to trace a pattern, measure and cut fabric, thread the machine, and sew different seams. We learned all of these techniques on industrial machines, Juki DDL-8700’s to be more precise. Those machines were incredible. The servo motor they used made the experience unlike anything I’ve ever sewn with before. The action was smooth, quiet, and just flowed. The seams came out like water getting poured out of a cup. I was hooked. I can’t afford one of these workhorses yet, but I plan to save up for one in the future. For now, I use a Singer Heavy Duty 4452 for my sewing at home. That machine is great, but it’s much louder and doesn’t sew as smoothly as the Juki does. I still really enjoy sewing with it, though. We also learned how to use a serger in this class. I understand the importance of serging seams, but I’d prefer to use other finishing techniques.
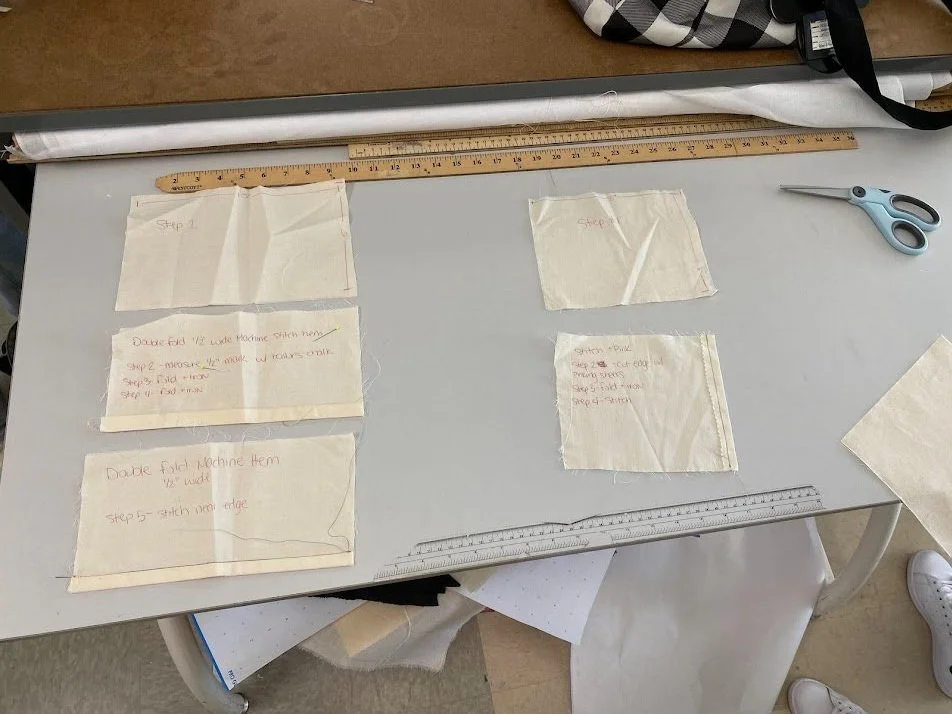
These were just a few of the seams we had to learn in class.
Meeting only once a week did not give us enough time to really practice, so sewing at home was essential. I feel like this class was exactly the push I needed to build the confidence to break out my own sewing machine and starting putting things together at home. That, and the need for a new sewing bag, was how this project was born. At first I was storing my sewing gear in one of those blue Danish butter cookie tins, purely for laughs. While I enjoyed using the repurposed tin, it had its limitations. Among other things, I couldn’t fit my fabric scissors in there. The fact that it was metal proved to be very restrictive. I was making the most of it, until I happened up a pretty cool store.
Urban Sewciety (https://www.urbansewciety.com/ ), is an awesome fabric store located in Westfield, NJ. They have a wide selection of fabrics, patterns, notions, and machines. They also host sewing classes (for kids and adults) and a summer camp for kids. I decided to visit them one day after starting this sewing class. I was very impressed by what they offered. Not only do they sell fabric and notions, they also have DIY kits! I found one for the Emmaline Retreat Bag (free pattern can be found here https://emmalinebags.com/products/the-retreat-bag-pdf ) and decided to make it. I have no regrets.
The fact that this bag included a zipper, different types of interfacing, and an internal wire frame made it a much more advanced project than anything I had ever worked on before. But I was undeterred. I like a challenge. The kit conveniently included everything I needed, so all I had to do was cut it out and put it together. It was actually a very fun project. The instructions were clear and made sense to me, a beginner sewist.
Sewing these tabs would prove to be a thorn in my side and caused me to make a pretty serious mistake.
However, being that I am a beginner sewist, I inevitable made mistakes. I am including them in the photos here because growth is one of the themes of this blog. There is no sense in hiding my mistakes if I am trying to catalogue my growth and progression. Some of them were frustrating, others were funny. All of them led to me learning a bit more and improving my sewing skills.
I spent roughly an evening measuring and cutting everything out. The pattern was very straightforward and required mostly rectangular shapes. All it took was some measuring, marking, and cutting with my quilting ruler, tailor’s chalk, and rotary cutter. Next, I ironed on the fusible interfacing and fleece interfacing to their respective cuts of fabric. This step was a bit tricky because I didn’t know which heat setting to use on my iron, and whether or not to use steam. I ended up using steam on a higher heat setting and the interfacing stuck on pretty well. Some corners peeled off later, but overall It held. Unfortunately, the DIY kit did not include instructions with the interfacing, so I just had to figure it out. I’m glad my trials worked. Then, I felt like this was a pretty good stopping point, so I left the pieces alone for a few days while I attended to some other business. I feel like this is a crucial thing to mention because a lot of instructional videos online just cut this part out and make it seem like everything was all done in one day. Full disclosure, that is not possible. Multiple days (sometimes weeks) are required to complete most projects. I feel like more transparency from creators about the actual time it takes to finish something would be great.
Preparing the fabric to be cut.
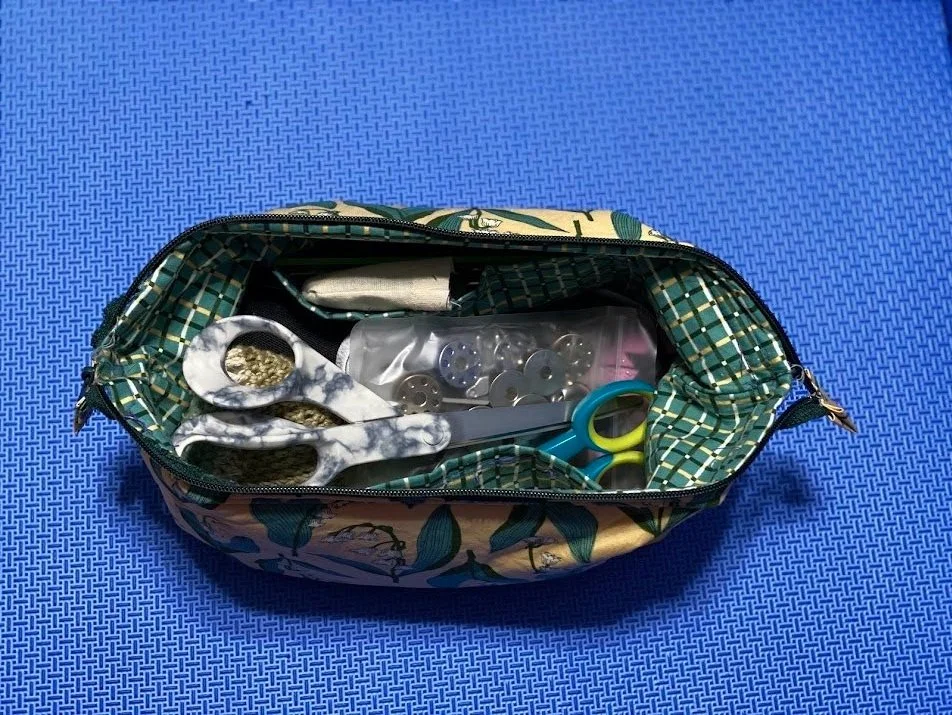
When I did start sewing, I was able to put everything together in a few hours. It felt great to finally get to do this. Learning from my mistakes with the drawstring bag, I remembered to do a backstitch before starting each seam. Everything else was a new experience. I had never sewn with interfacing before, but found this did not present much of a challenge. My Singer breezed right through the extra material. Sewing the two inside pockets proved to be a bit tricky, but fortunately the lining fabric was a pattern with straight lines, so I was able to use those to line everything up. Figuring out how to make the topstitching look good was also a fun challenge. I had never done this before, but enjoyed learning the skill. The inside pockets proved to be an awesome, and useful, touch by the bag designer.
I love how much stuff can fit in here. The two inside pockets are a nice touch.
Because of the end tabs, The zipper proved to be the most challenging thing to sew. For some reason, they just were not wrapping around the zipper fabric correctly. They were too narrow and caused the ends of that fabric to fold in. I didn’t think this was right, so, rather than cutting out bigger tabs, I decided to just cut the “extra” zipper fabric in order to make the tabs fit. Well, they fit. But this decision made everything else about attaching the zipper much more difficult than it needed to be. After attaching the exceedingly narrow zipper, I noticed that some sections of the bag fabric did not even attach to the zipper fabric. I ended up sewing those sections by hand. It worked out fairly well, but I think next time I’ll just keep the zipper fabric intact.
Because the zipper seams ended up being a bit wonky, the subsequent sewing I did for the wire casing ended up being a bit wonky too. It was difficult to guide off of the mangled zipper, and not all of it was a straight line. I’m also realizing I have a bad habit of sewing things too close together. The channel ended up being too narrow for the protective boot that prevents the casing from damaging the fabric. It was just the right size for the wire, though. I suppose it’s an instinct to try and preserve as much fabric as possible; but it’s important to accept the fact that the fabric is there to be used. It doesn’t make sense to save extra fabric if it messes up the whole project. But I digress. Fortunately in this case, I was able to get the frame wire in by removing the protective boot and carefully sliding it through the channel. There were some snags, but thankfully no tears.
Ultimately, I was very happy with the result. I am proud of the effort I put into it and the lessons I gained from it. Sure, the bag is not perfect, but it doesn’t need to be. The whole point of the project was to learn, and I feel like it was a huge success in that regard. I also got a fantastic new sewing bag out of it. It’s large and malleable enough to fit what I need it to fit and bring with me wherever I need to bring my sewing gear. I also don’t have to worry about the lid randomly sliding off and everything spilling out. I think remaking this bag in the larger size would be a great project for the future. I might just have to tackle it this summer. Big thank you to Emmaline Bags for designing this bag, and Urban Sewciety for putting together the DIY kit and selling it. As for you, dear reader, see you in the next post!


